Marking an Invoice as Pending and Removing the Pending Status Stamp
There may be times where you want to issue an invoice to a customer, but do not want to recognize the revenue because you have not yet earned the revenue. According to generally accepted accounting principles, you should recognize revenue when it is earned if you are doing accrual basis accounting. Marking the invoice as pending will save the invoice for you to finalize in the future and will NOT record any accounting in the background (will not record sales or a receivable).
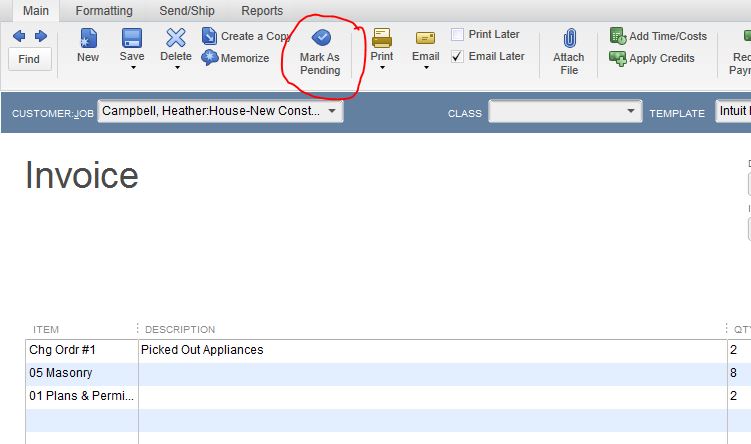
To mark an invoice as pending, fill out the invoice fields as usual then click the Mark as Pending button shown in the image below.
If you preview the invoice, after marking it as pending, you will notice that it has a Pending Status Stamp on the invoice (see image below).

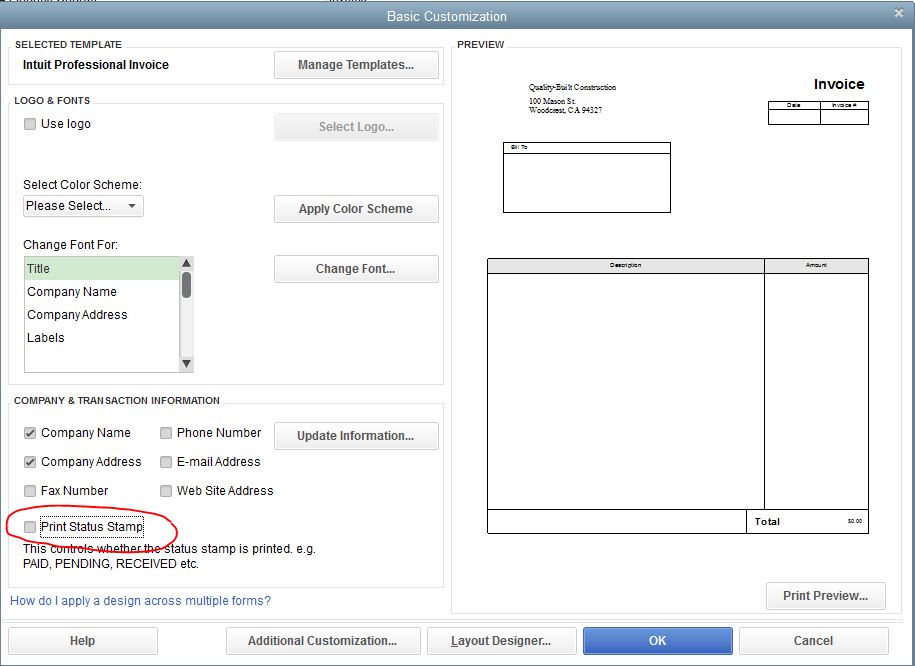
If you wish to remove this stamp, you will need to edit the template. You do this by clicking the lists menu then choosing templates from the top menu bar. Then you select the template you want to edit and right click it and choose edit template. In the Basic Customization window shown below, make sure to uncheck the box labeled Print Status Stamp.
Click OK to save the change to the template and now your pending invoices will print without the Pending Status stamp.
If you have any questions please feel free to leave them in the comments below this post. Thank you for reading and have a nice day!